

Cows seem to produce the best cream in springtime—thick enough to stand up on a spoon, pale yellow, and blessedly abundant. While the shares of cream I pick up from our local raw dairy will continue to arrive until
mid-autumn, the cream in later months lacks the thick viscosity of early spring cream. When the cows graze on fresh, rapidly growing green grass, their cream turns a beautiful pale yellow color. When cultured and
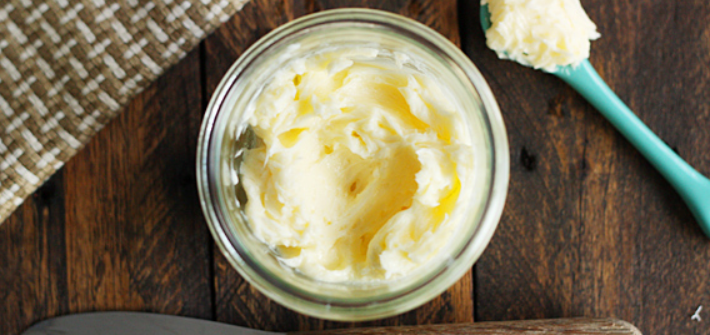
churned, springtime cream produces butter of vibrant gold.
I keep freshly churned butter in a little butter bell on my countertop, where it will keep for several weeks provided I exchange the water in the container daily. I freeze the butter, too, in balls weighing about a half
pound each that I tuck away until winter, when the dairy in which my family holds a share ceases production. I also make ghee—or clarified butter—storing it in 2-quart mason jars in my cupboard and dip into it as I
need it.
MAKES ABOUT 1 CUP BUTTER AND 2 CUPS BUTTERMILK
INGREDIENTS
- 4 cups heavy cream
- ¼ cup buttermilk (store-bought or from a previous batch of butter)
INSTRUCTIONS
- Stir the cream and buttermilk together in a large bowl.
- Cover the bowl loosely with a kitchen towel and tuck it away in a warm spot on your countertop.
- Let it stand, undisturbed, at room temperature for 18 to 24 hours, or until it tastes pleasantly sour.
- Transfer the bowl to the refrigerator and let the cream chill for about 2 hours.
- Whip the cream vigorously for 8 to 10 minutes in a stand mixer using the paddle attachment, until it moves past soft and firm peaks to its breaking point, when bits of coagulated butter separate from the thin, watery buttermilk.
- Continue beating until those bits of butter form larger clumps, another 3 to 6 minutes.
- Line a fine-mesh sieve with a double layer of cheesecloth or a single layer of butter muslin and place it over a bowl.
- Pour the clumpy bits of butter and the cloudy buttermilk into the sieve to strain it.
- Pour the buttermilk into a jar, cover, and refrigerate. It should keep for about a month.
- Remove the butter from the sieve and put it into the bowl that previously held the buttermilk.
- Add 2 cups cold water, transfer to the refrigerator, and let the butter harden for 5 to 10 minutes.
- Remove the butter from the fridge and drain off the water.
- Working the butter with the back of a wooden spoon or with a butter paddle, knead the butter repeatedly to remove any residual water or buttermilk.
- When the butter becomes smooth and waxy and yields no more water when pressed, wrap it tightly in parchment paper and then in foil to seal it and prevent oxidation.
- Place the butter in the refrigerator. It should keep for up to 2 months, or if frozen, for up to a year.


